
MCP Installation
This guide will walk you through setting up CodeRide MCP to work with your AI coding assistant.
1. Prerequisites
Before installing CodeRide MCP, you'll need these components:
a. Node.js
Node.js is a runtime environment that comes with npm (Node Package Manager), which is used to install CodeRide MCP.
Check if you already have Node.js: Open your terminal or command prompt and run:
node -vIf you see version 18.0.0 or higher, you can skip to step 2.
Installing Node.js:
Visit nodejs.org
Download the LTS (Long Term Support) version
Run the installer and follow the setup wizard
Restart your terminal
Verify installation:
node -vshould show a version number
Alternative installation methods:
Windows:
winget install OpenJS.NodeJSMac:
brew install node(requires Homebrew)Linux: Follow distribution-specific instructions on nodejs.org
b. CodeRide Account and API Key
You'll need a CodeRide account and API key. See our API Key Setup Guide for detailed instructions.
c. Compatible AI Assistant
CodeRide works with these MCP-compatible AI assistants:
Claude Desktop
VS Code with Cline
Windsurf
Cursor
GitHub Copilot
2. Installation
a. Via Smithery (Recommended)
Smithery provides a web interface that automatically generates installation instructions for your specific AI assistant:
Log into Smithery: Visit smithery.ai and create an account or log in
Navigate to the CodeRide page
Select your AI assistant: Choose your client from the list (Claude Desktop, Cursor, Windsurf, Cline, etc.)
Add your API key: Insert your CodeRide API key when prompted
Follow the generated instructions: Smithery will provide specific setup steps for your chosen AI assistant
b. Manual Configuration
If Smithery installation doesn't work, you can configure manually:
Claude Desktop: Edit ~/.claude/mcp.json (create if it doesn't exist):
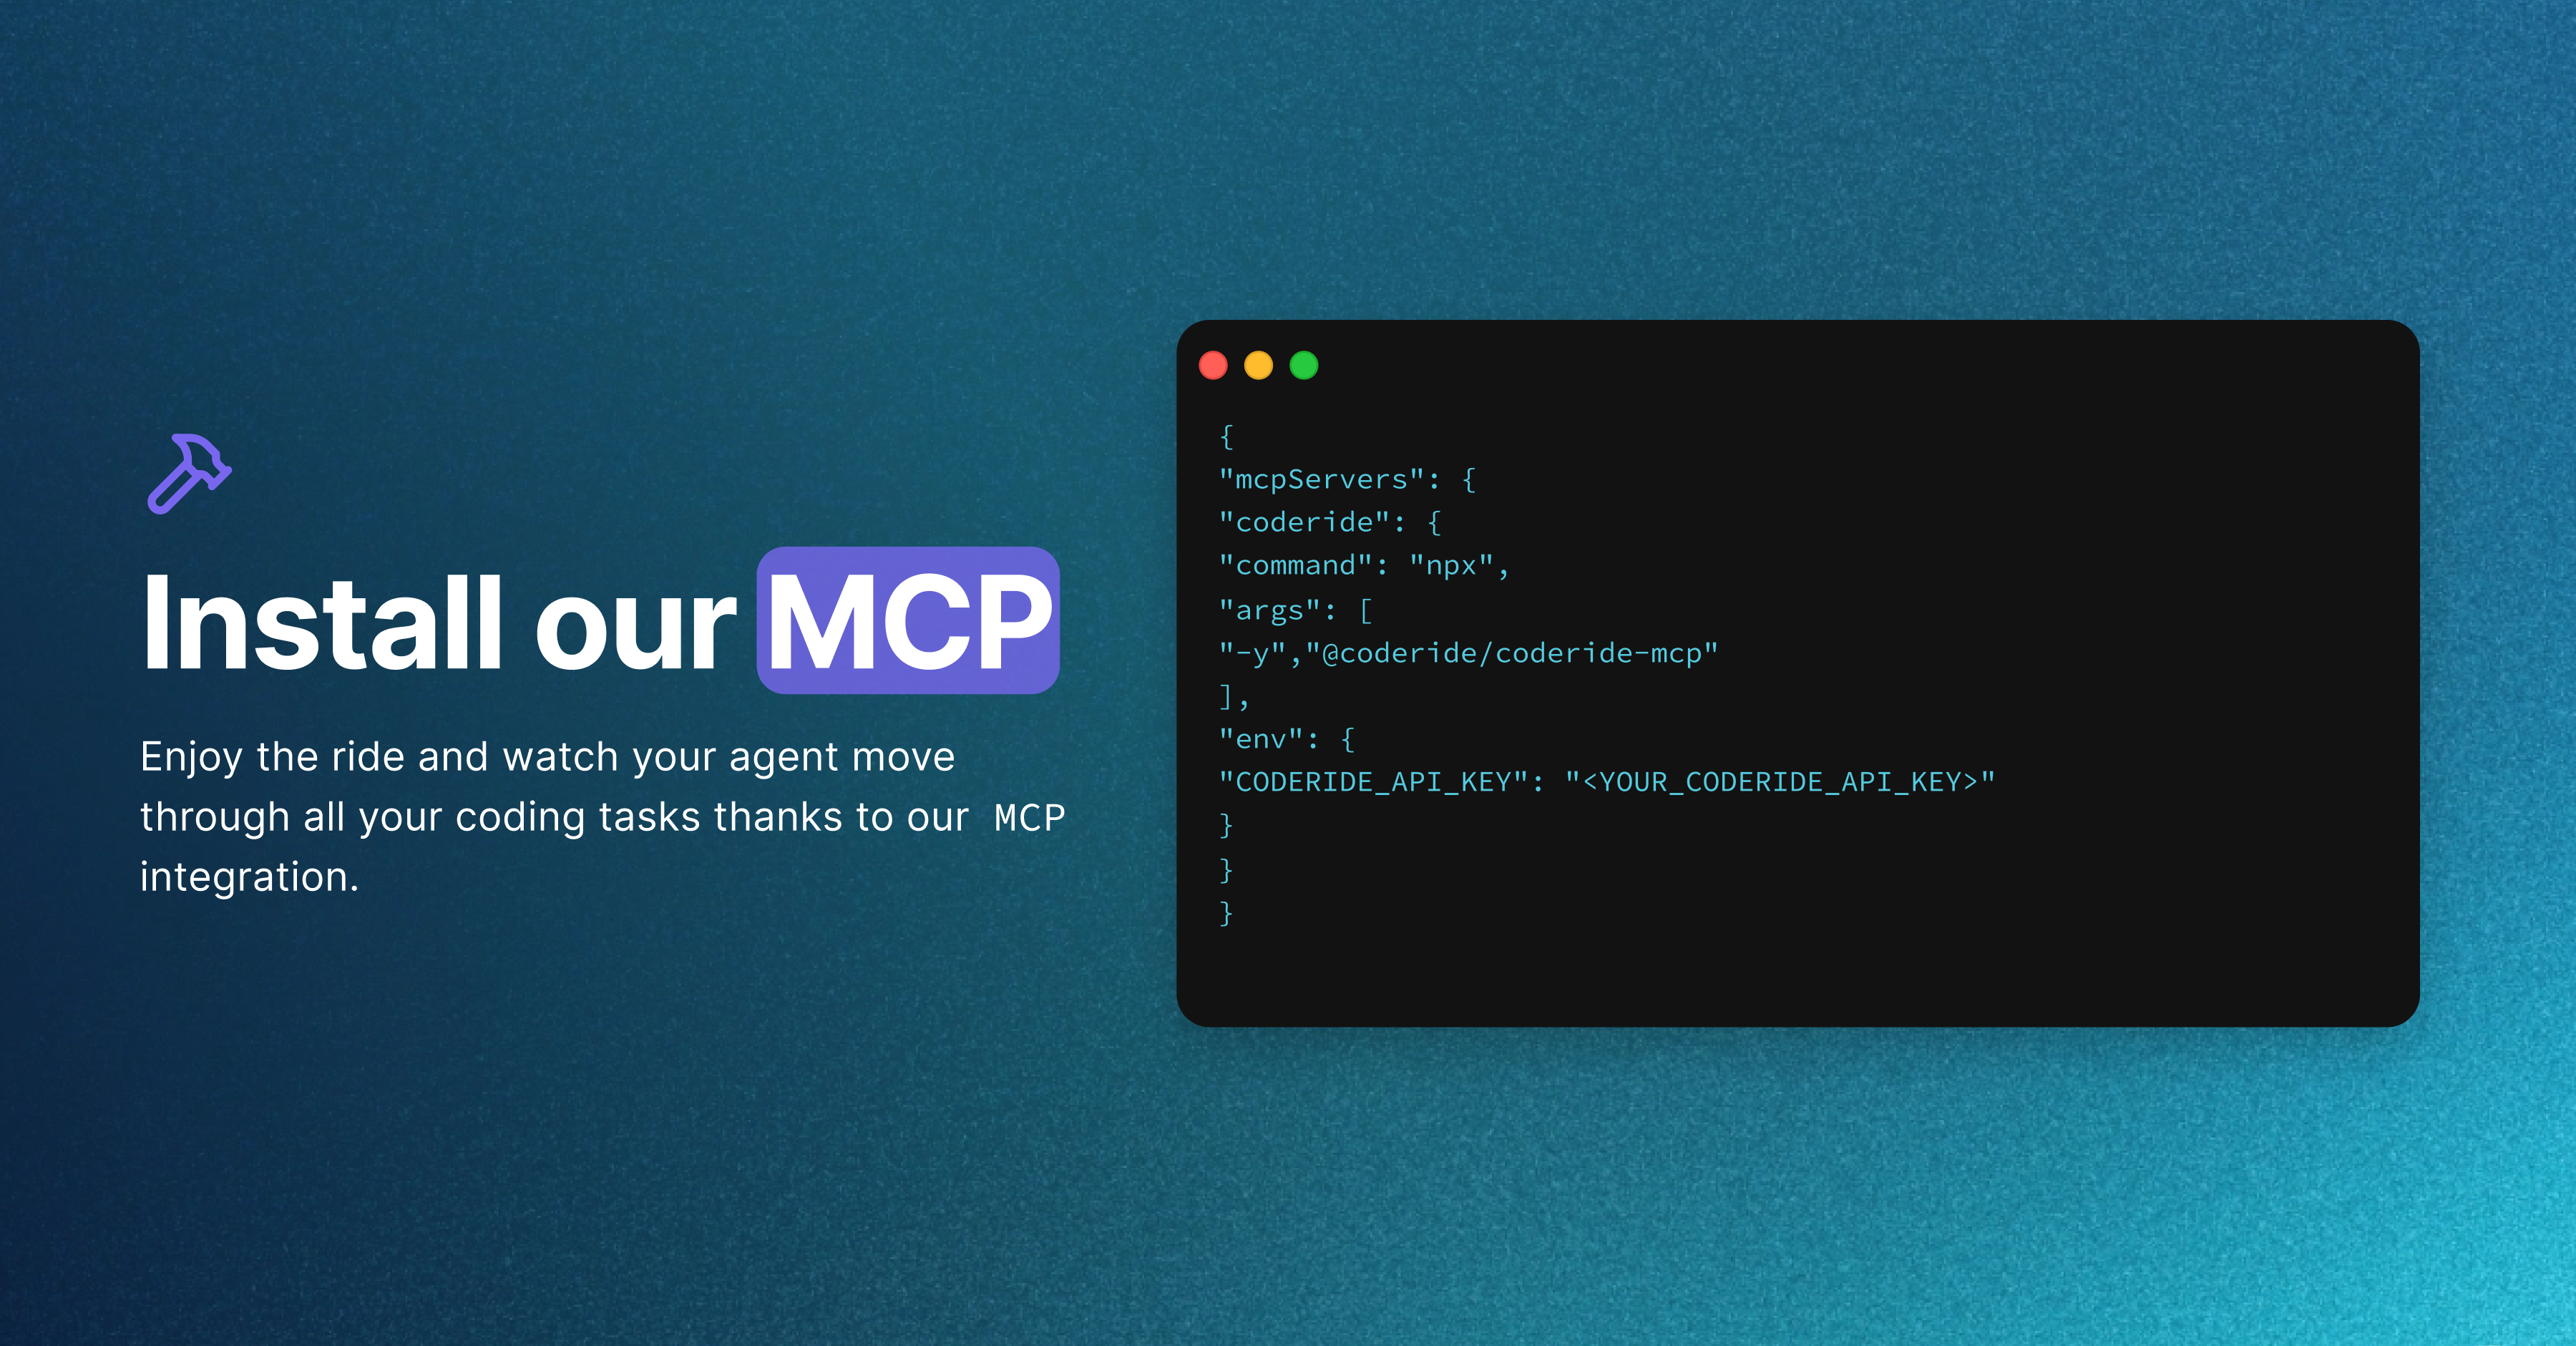
{"mcpServers": {
    "coderide": {
      "command": "npx",
      "args": ["-y", "@coderide/mcp"],
      "env": {
        "CODERIDE_API_KEY": "your_api_key_here"
      }
    }}}
Other AI assistants: Similar configuration through their respective settings panels or configuration consoles.
3. Verification
To confirm everything is working:
Check in Smithery: Verify the installation completed successfully in your Smithery dashboard
Test in your AI assistant:
Restart the application
Look for CodeRide in available tools or context providers
Try creating a task or accessing CodeRide features
4. Available CodeRide Tools
Once successfully connected, your AI assistant will have access to these CodeRide tools:
get_task- Retrieve details about a specific task (e.g., "Get me details for task APP-101")
update_task- Update task status or description (e.g., "Mark task BUG-42 as completed")
get_prompt- Get AI-specific instructions for a task (e.g., "What should I work on for task ETF-7?")
get_project- Get project overview and details (e.g., "Tell me about the Omega Initiative project")
update_project- Update project knowledge or diagrams (e.g., "Update the architecture diagram")
start_project- Get the first or next recommended task (e.g., "What's the first task for project MBC?")
Try asking your AI assistant something like "What tasks are available in my project?" to test the connection.
Was this helpful?